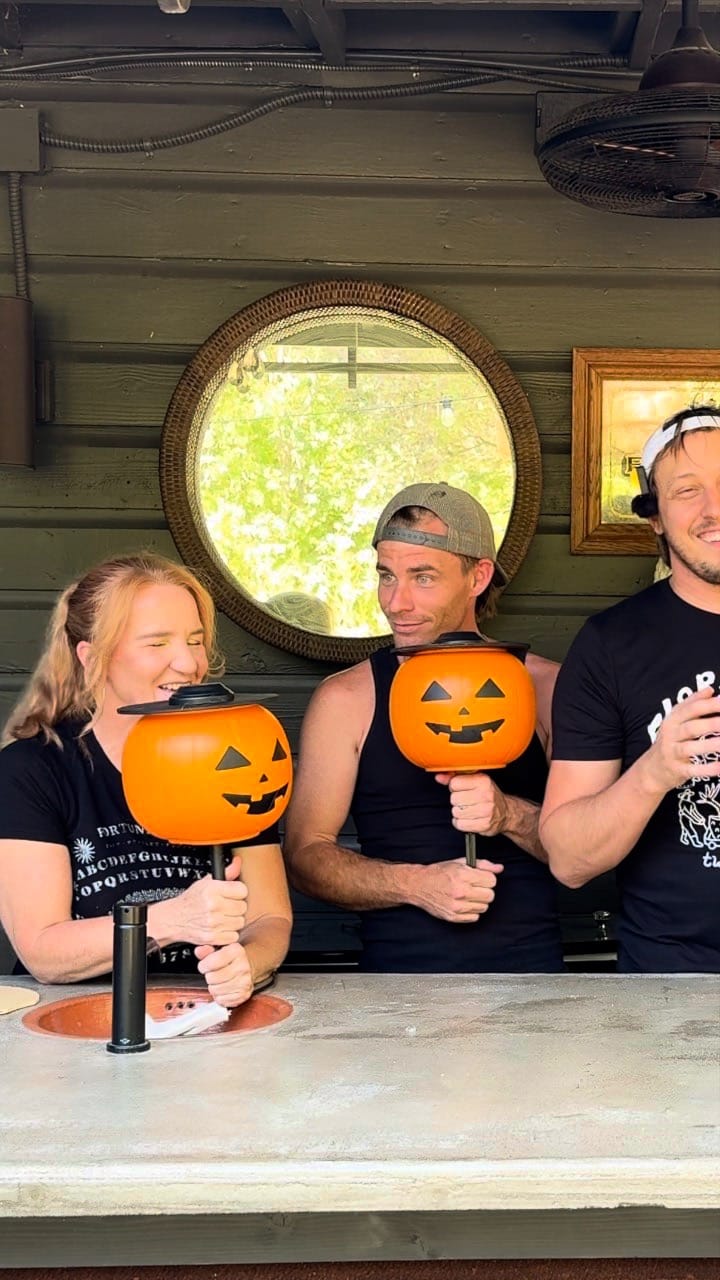
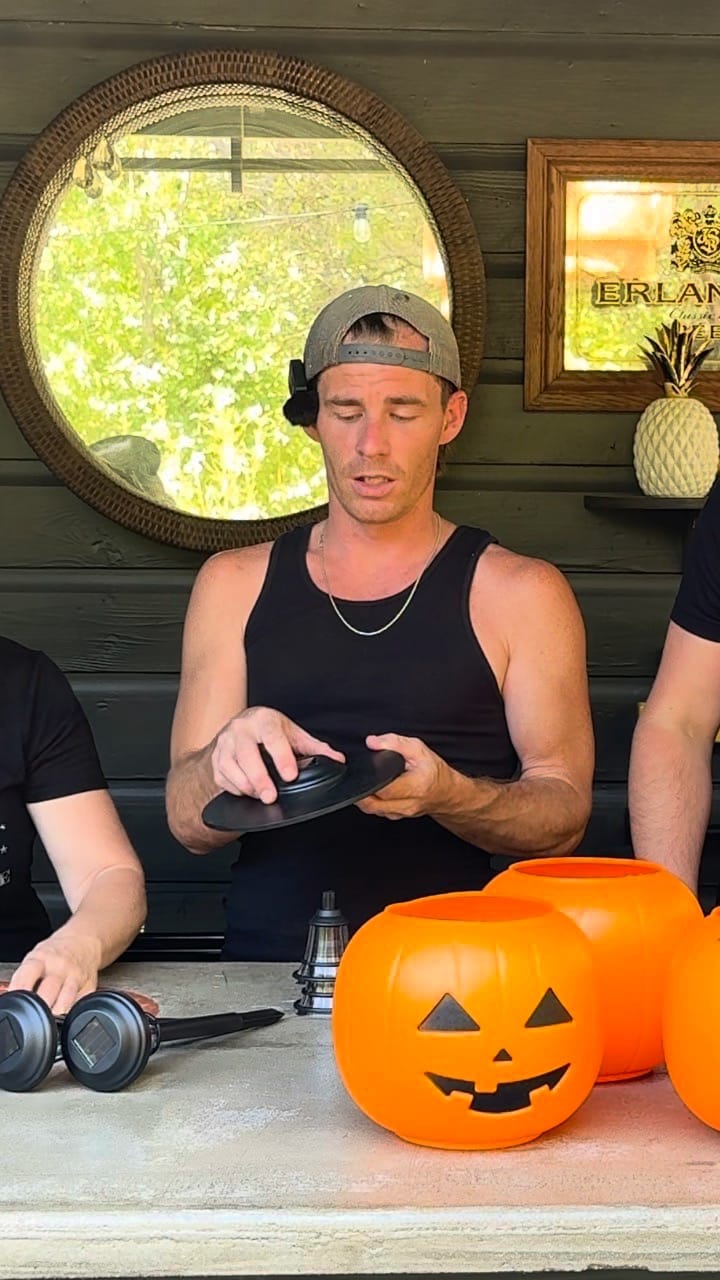
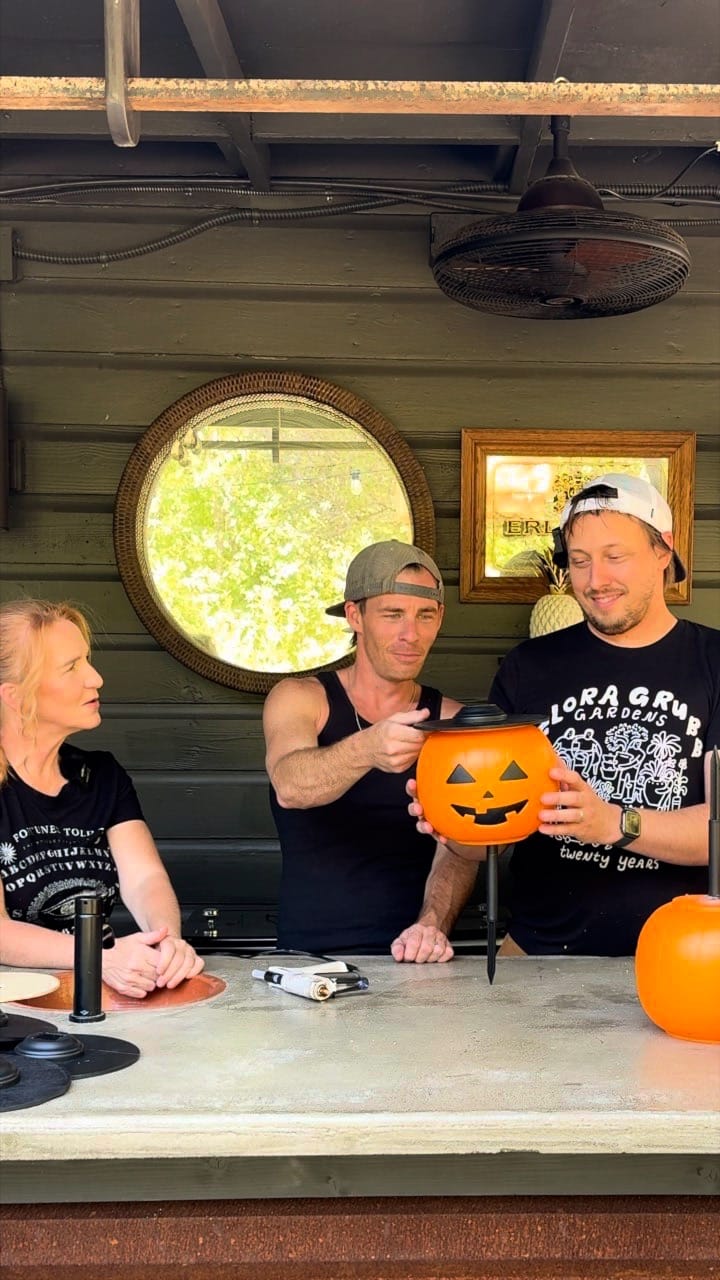
Hey everyone! For this video, we have a special guest; Rodney’s mom, Mindy! Today, we’ll show you how to create solar-powered light pumpkins perfect for a Halloween walkway.
Mindy always goes all out for her Holiday Decor, and was in need of some new walkway flair. So, this was the perfect project to do with her.
There are lots of versions of this project circling the internet, but this is our spin on it adapting to the things we could actually get our hands on. This project uses the bases of solar garden lights along with custom wood circles to keep everything secure. Let’s get started!
Step-by-Step Instructions
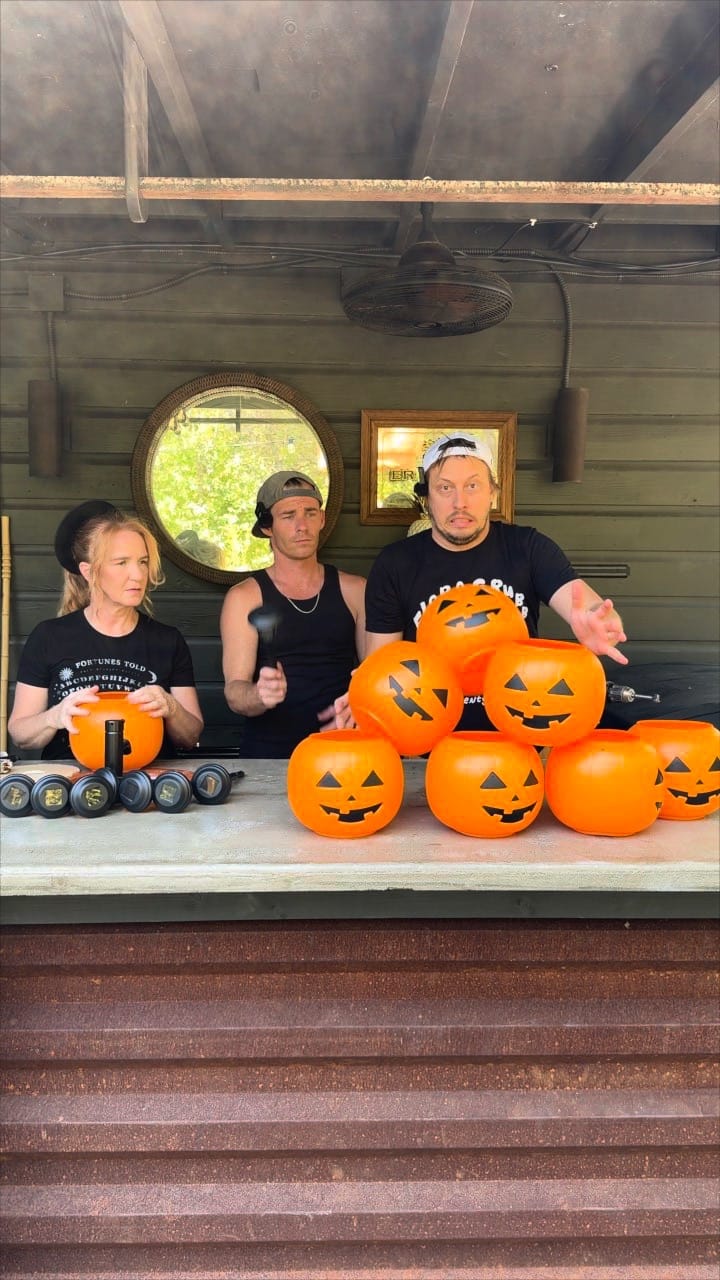
Step 1: Gather Your Materials
You will need:
- Plastic pumpkin buckets (with handles removed)
- Solar garden lights (detachable tops and stakes)
- Thin plywood (for wood circles)
- Hole saw or jigsaw
- Hot glue gun
- Drill
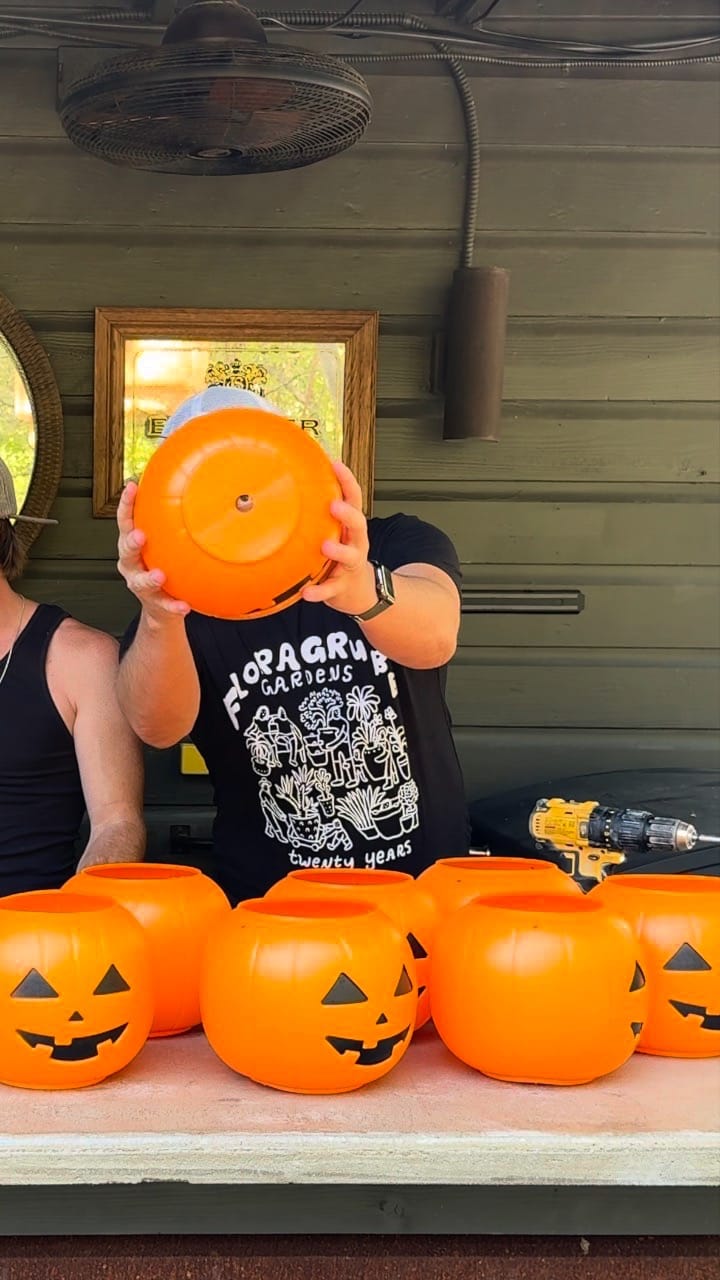
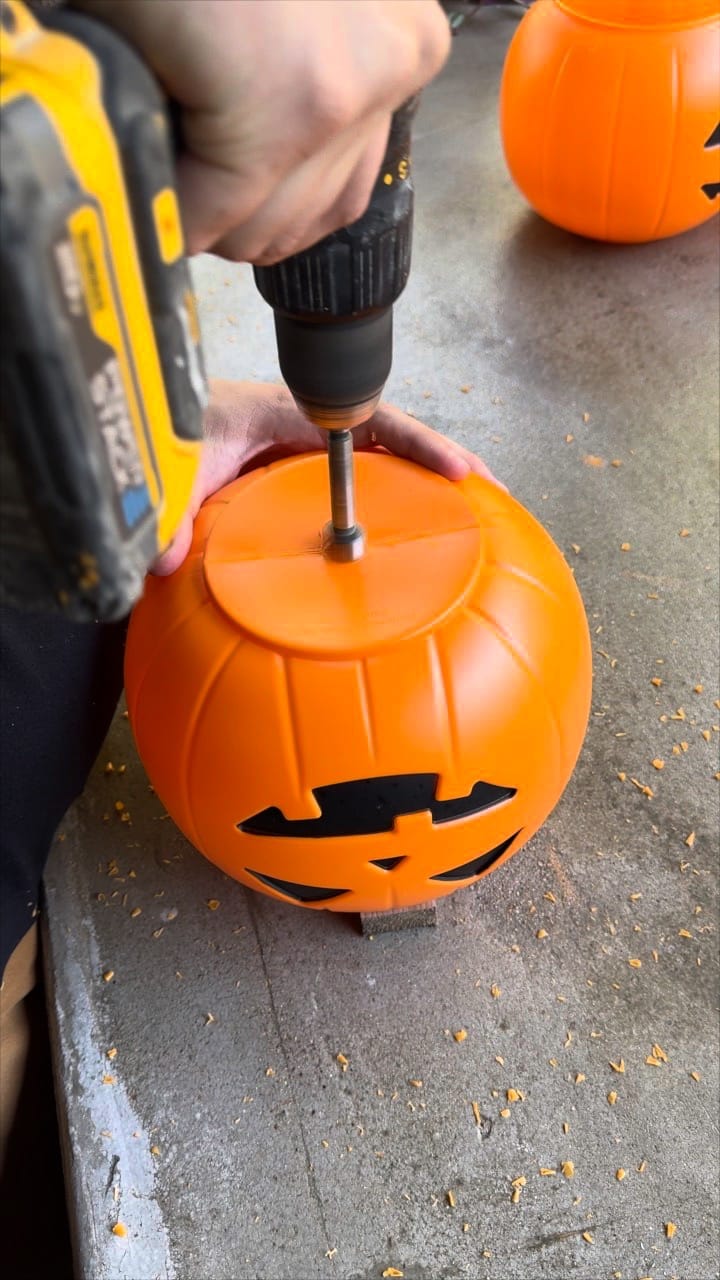
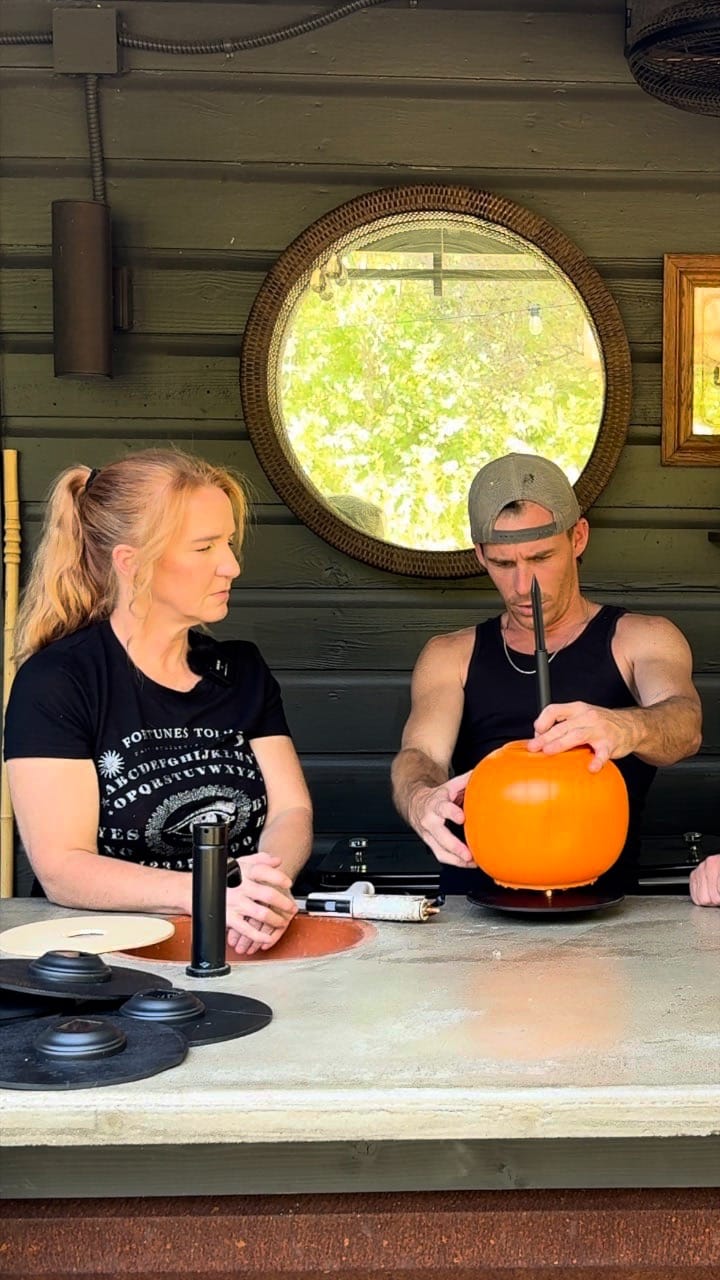
Step 2: Prepare the Pumpkins
- Remove the handles from the pumpkins.
- Drill a large hole in the bottom of each pumpkin, big enough for the light stake but not so big that it wobbles.
Step 3: Make the Wood Circles
Here we will basically be making wood “donuts”. The goal is to create a base that is big enough to sit on the opening of the pumpkin pale, and an inner hole for the solar light top to rest on and shine through.
- Cut thin plywood into matching circles using a hole saw or jigsaw.
- Cut a smaller hole in the center of each wood circle to fit the top part of the solar light.

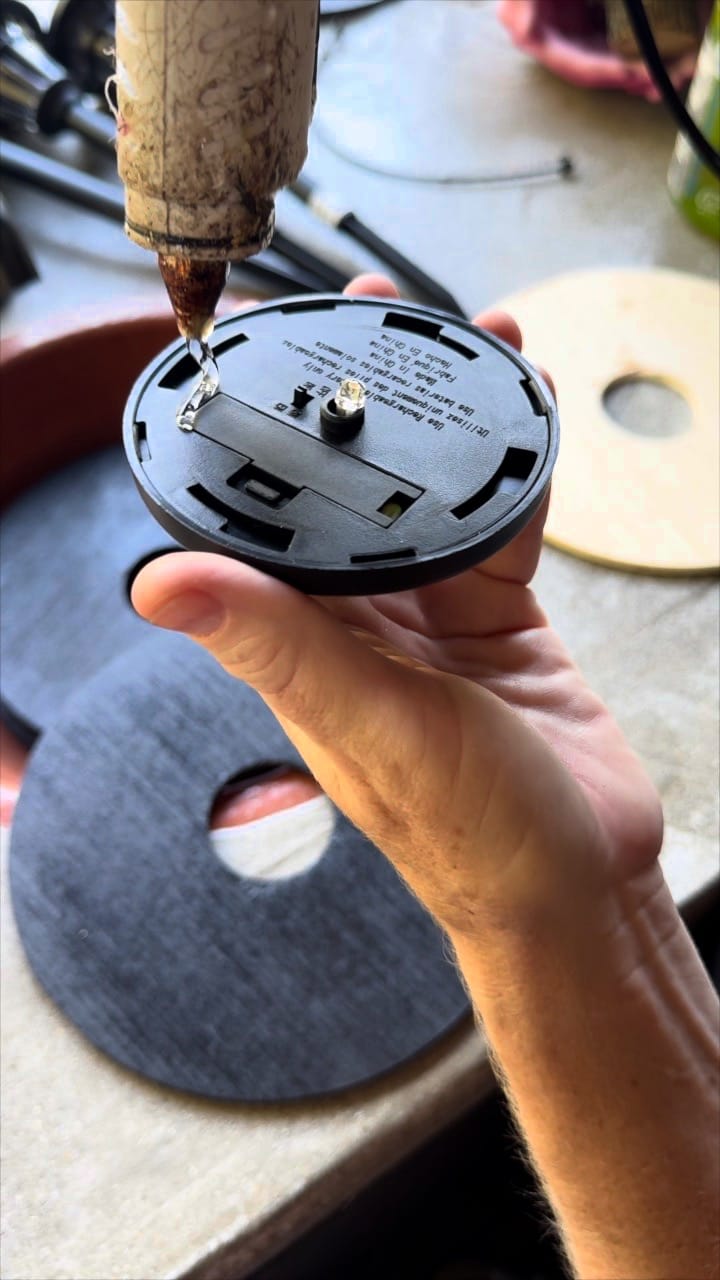
Step 4: Attach Solar Lights to the Wood Circles
- Take the solar light top (the bulb and panel) and place it into the small hole in the wood circle.
- Use hot glue to secure the light if needed.
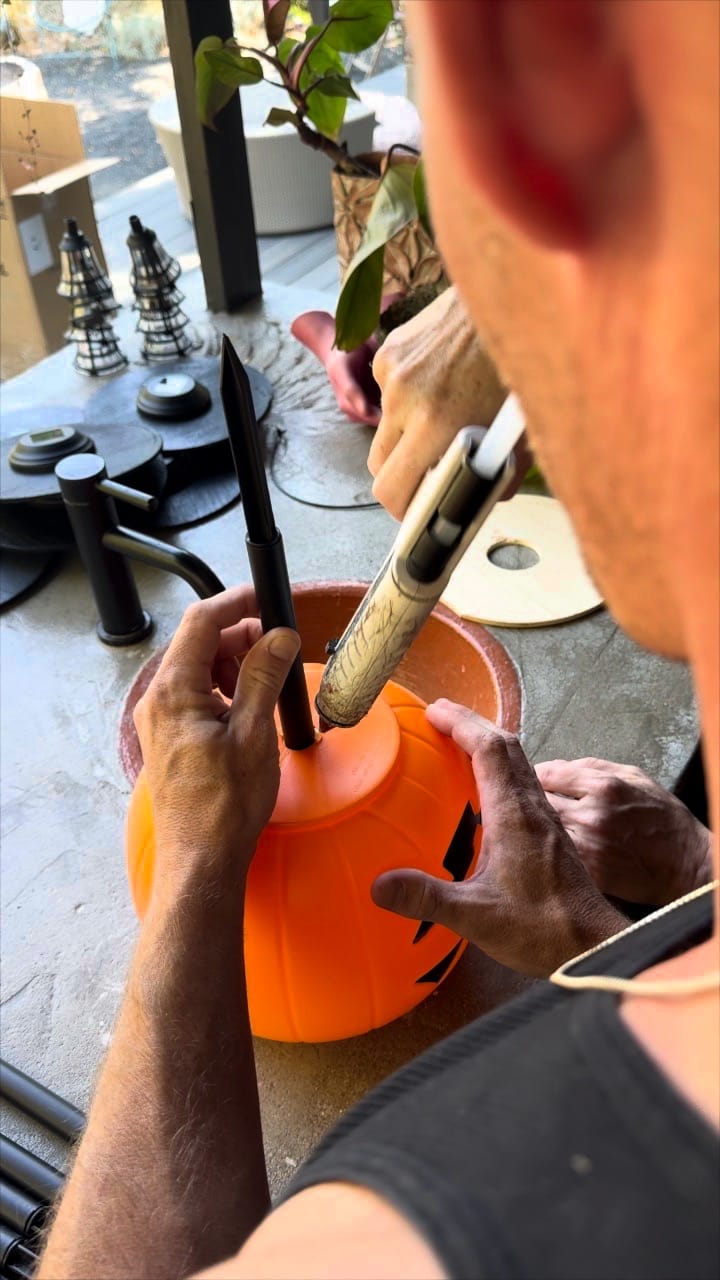
Step 5: Use the Solar Light Stakes as Bases
- Detach the stakes from the solar lights. These will now serve as the bases for your pumpkins.
- Insert the stakes through the bottom holes of the pumpkins and secure them with hot glue. This keeps the pumpkins upright and makes them easy to place along your walkway.
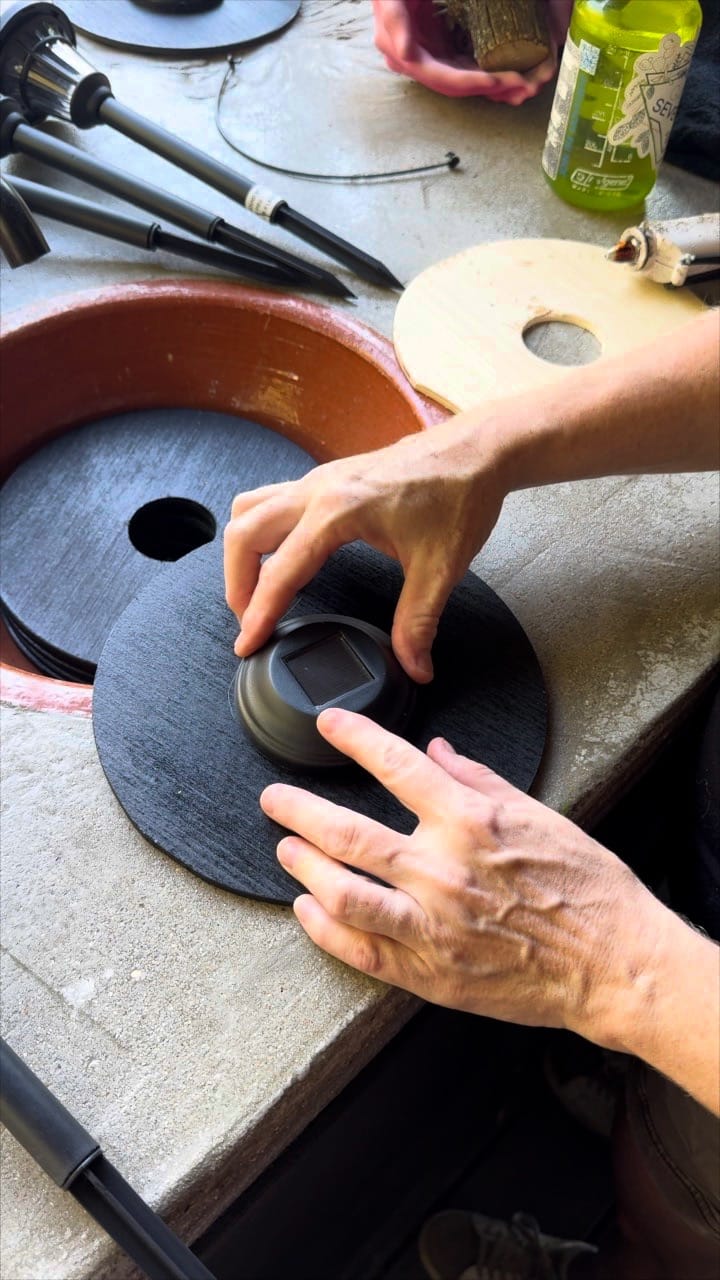
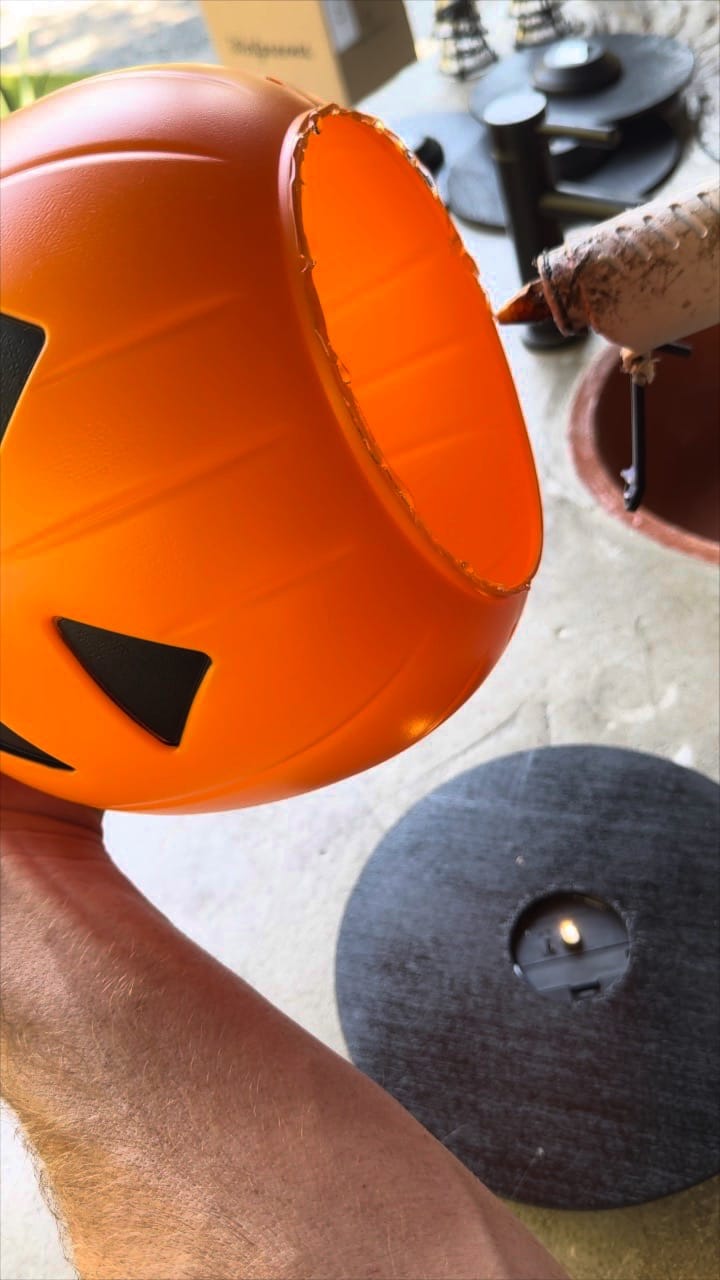
Step 6: Install the Wood Circles in the Pumpkins
- Place the wood circle with the light onto the top of the pumpkin pail
- Make sure it sits flush inside. If needed, apply hot glue to the edges to keep it in place.
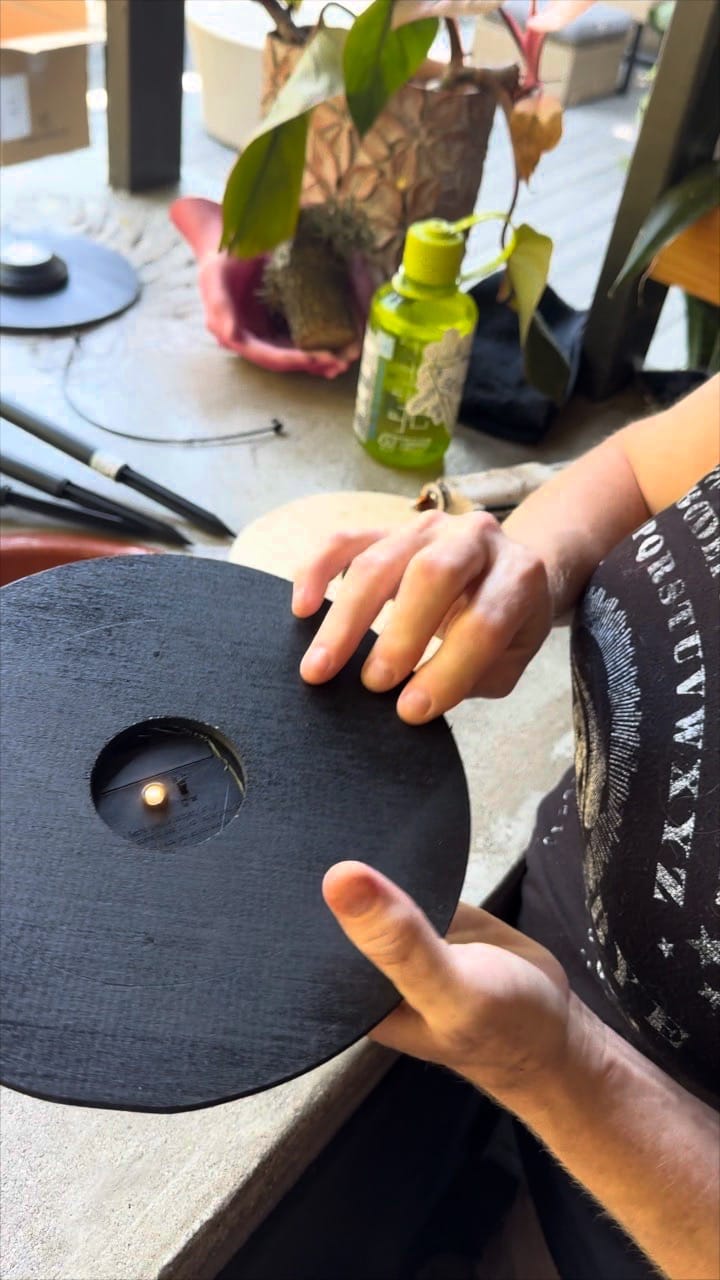
Step 7: Arrange the Pumpkins and Test the Lights
- Place your pumpkins along the path, ensuring the solar panels face up for charging.
- Test them at night to ensure they glow brightly. Adjust the positioning if needed.
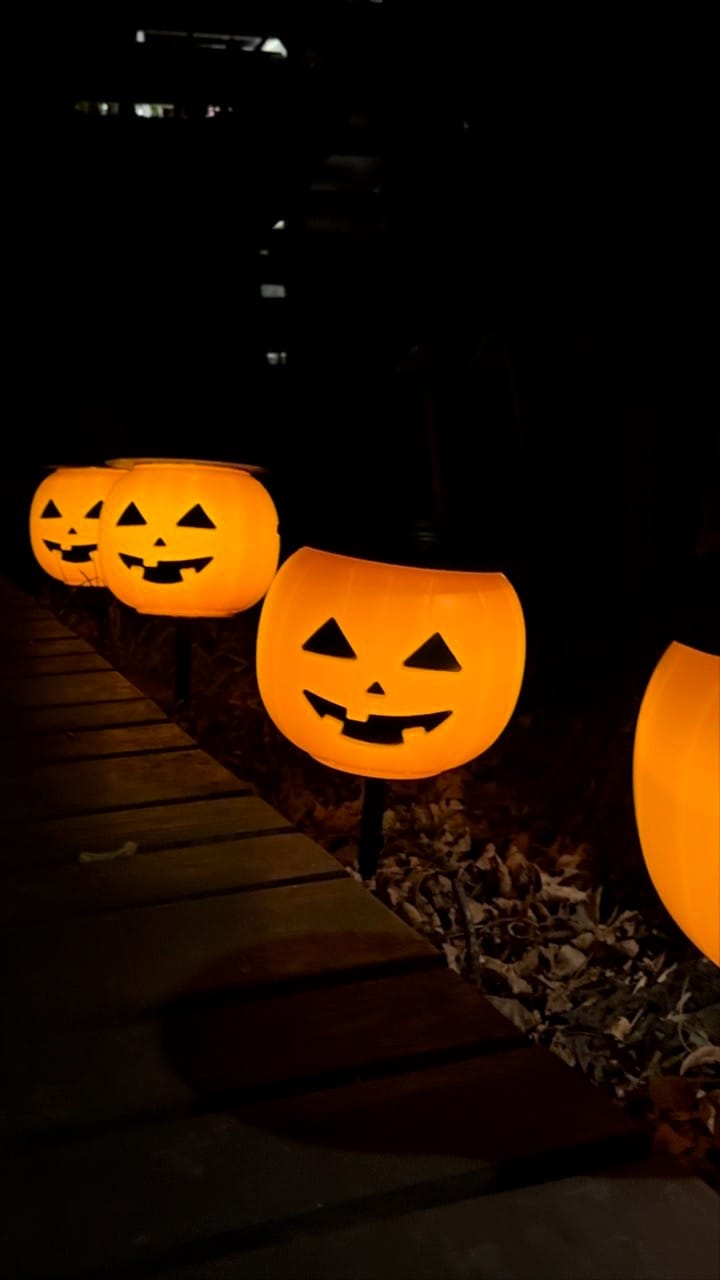
Conclusion:
With just some plywood, solar lights, and pumpkins, you’ve created an eye-catching Halloween display! This project is simple, and makes your outdoor space festive and fun. Enjoy your glowing pumpkins and have a fantastic Halloween!