If you didn’t see part one, check it out.
Not quite two years into enjoying our new dining room space, we decided the dining room needed more light. Im not going to go into the long story of how we ended up with 4 large 8×4 sliding glass doors (without the tracks)… but they had been sitting in our yard for years. In fact, they sat in the garage at our previous house for a few years, and a storage unit before that. It was one of those things where you keep holding onto something you HOPE you will find a use for some day. Usually, those don’t work out. But this time we had a solid idea for how to use them.


With the sheetrock gone, you can start to see the original framework where this room used to be a carport. We’ll basically be using that same hole to fill with our new windows. However, the glass and custom built frames of our windows are a few inches higher than the existing header. We added temporary supports both inside and outside to brace the ceiling as we replaced the header.

Next, we removed the window and the wooden siding.


As scary as demolition is, the amount of light that flooded in as soon as we removed the wall was really exciting and made it all worth it. Now to get this wall sealed up before night time.

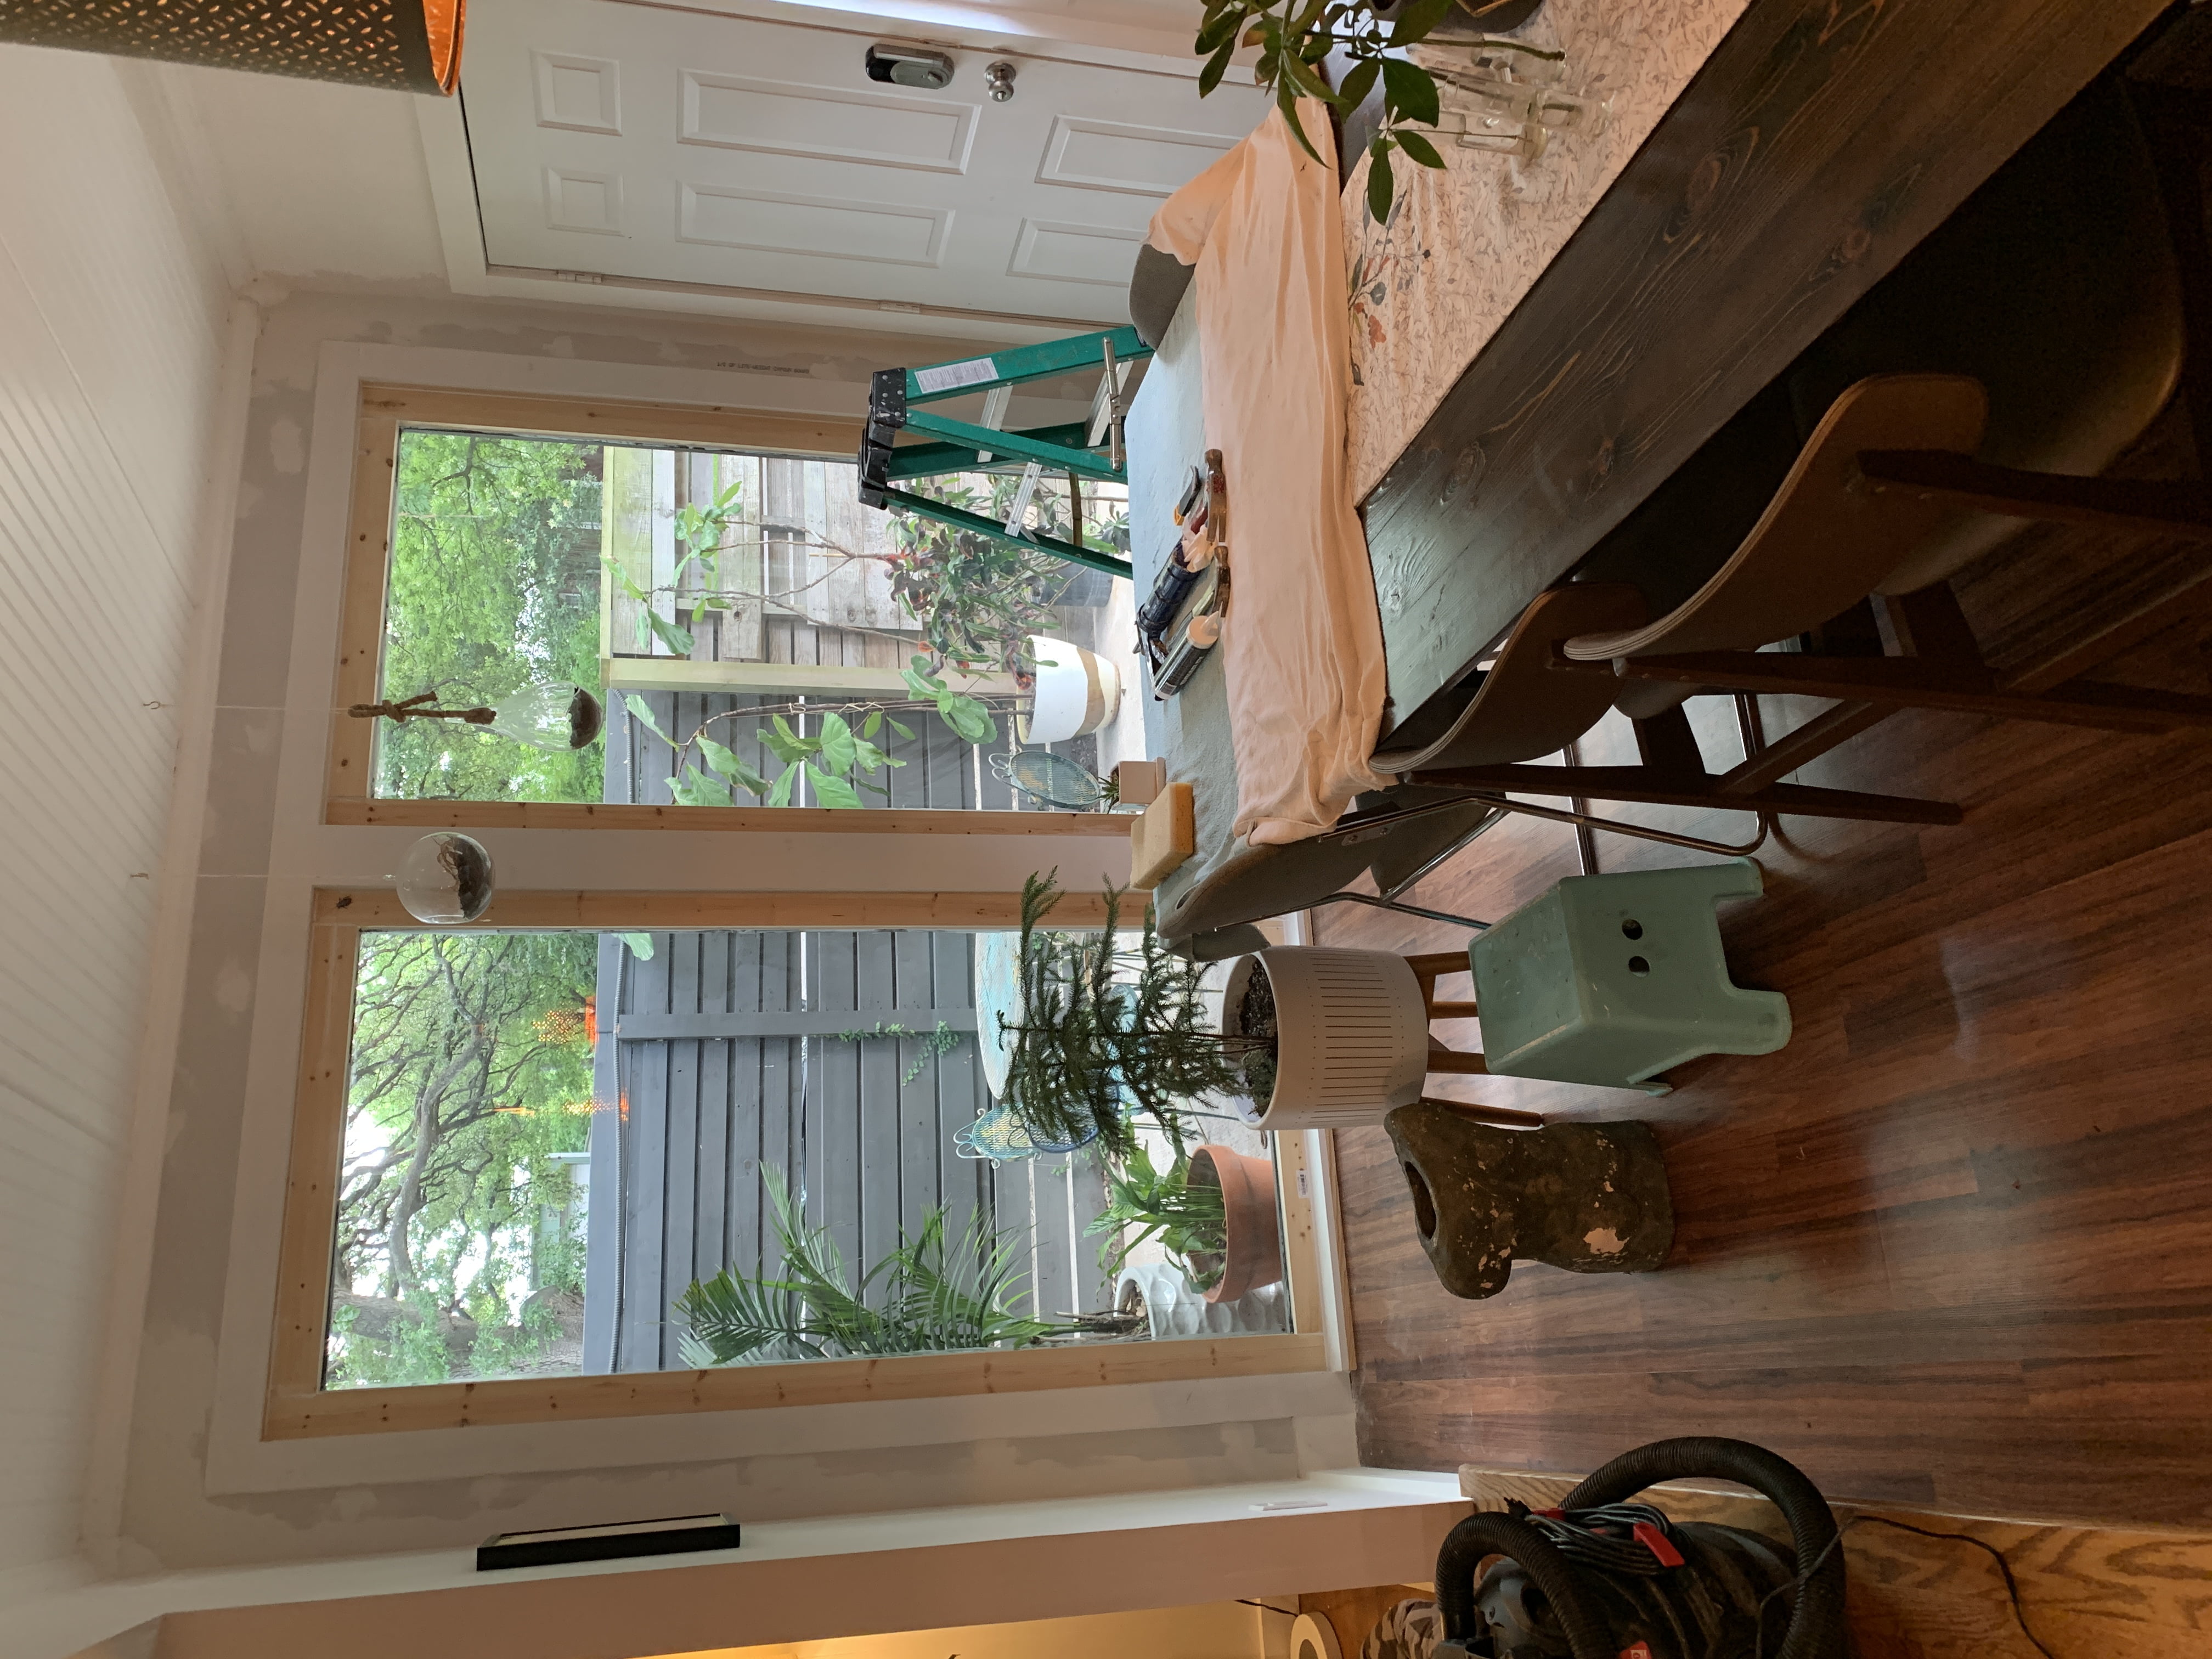
We stripped two of the glass sliding doors of their original metal frames so that it was just the double sided glass. We then built new wooden frames using 2×4, and 1x6s.


It was super late, but at least we had the hole on the side of our house sealed up. There was still lot’s to be done, but It was really exciting to see the progress.
The next day we started working on the what little sheetrock the inside needed and the molding for both the inside and outside. Making quick work of that, we were able to caulk and paint.


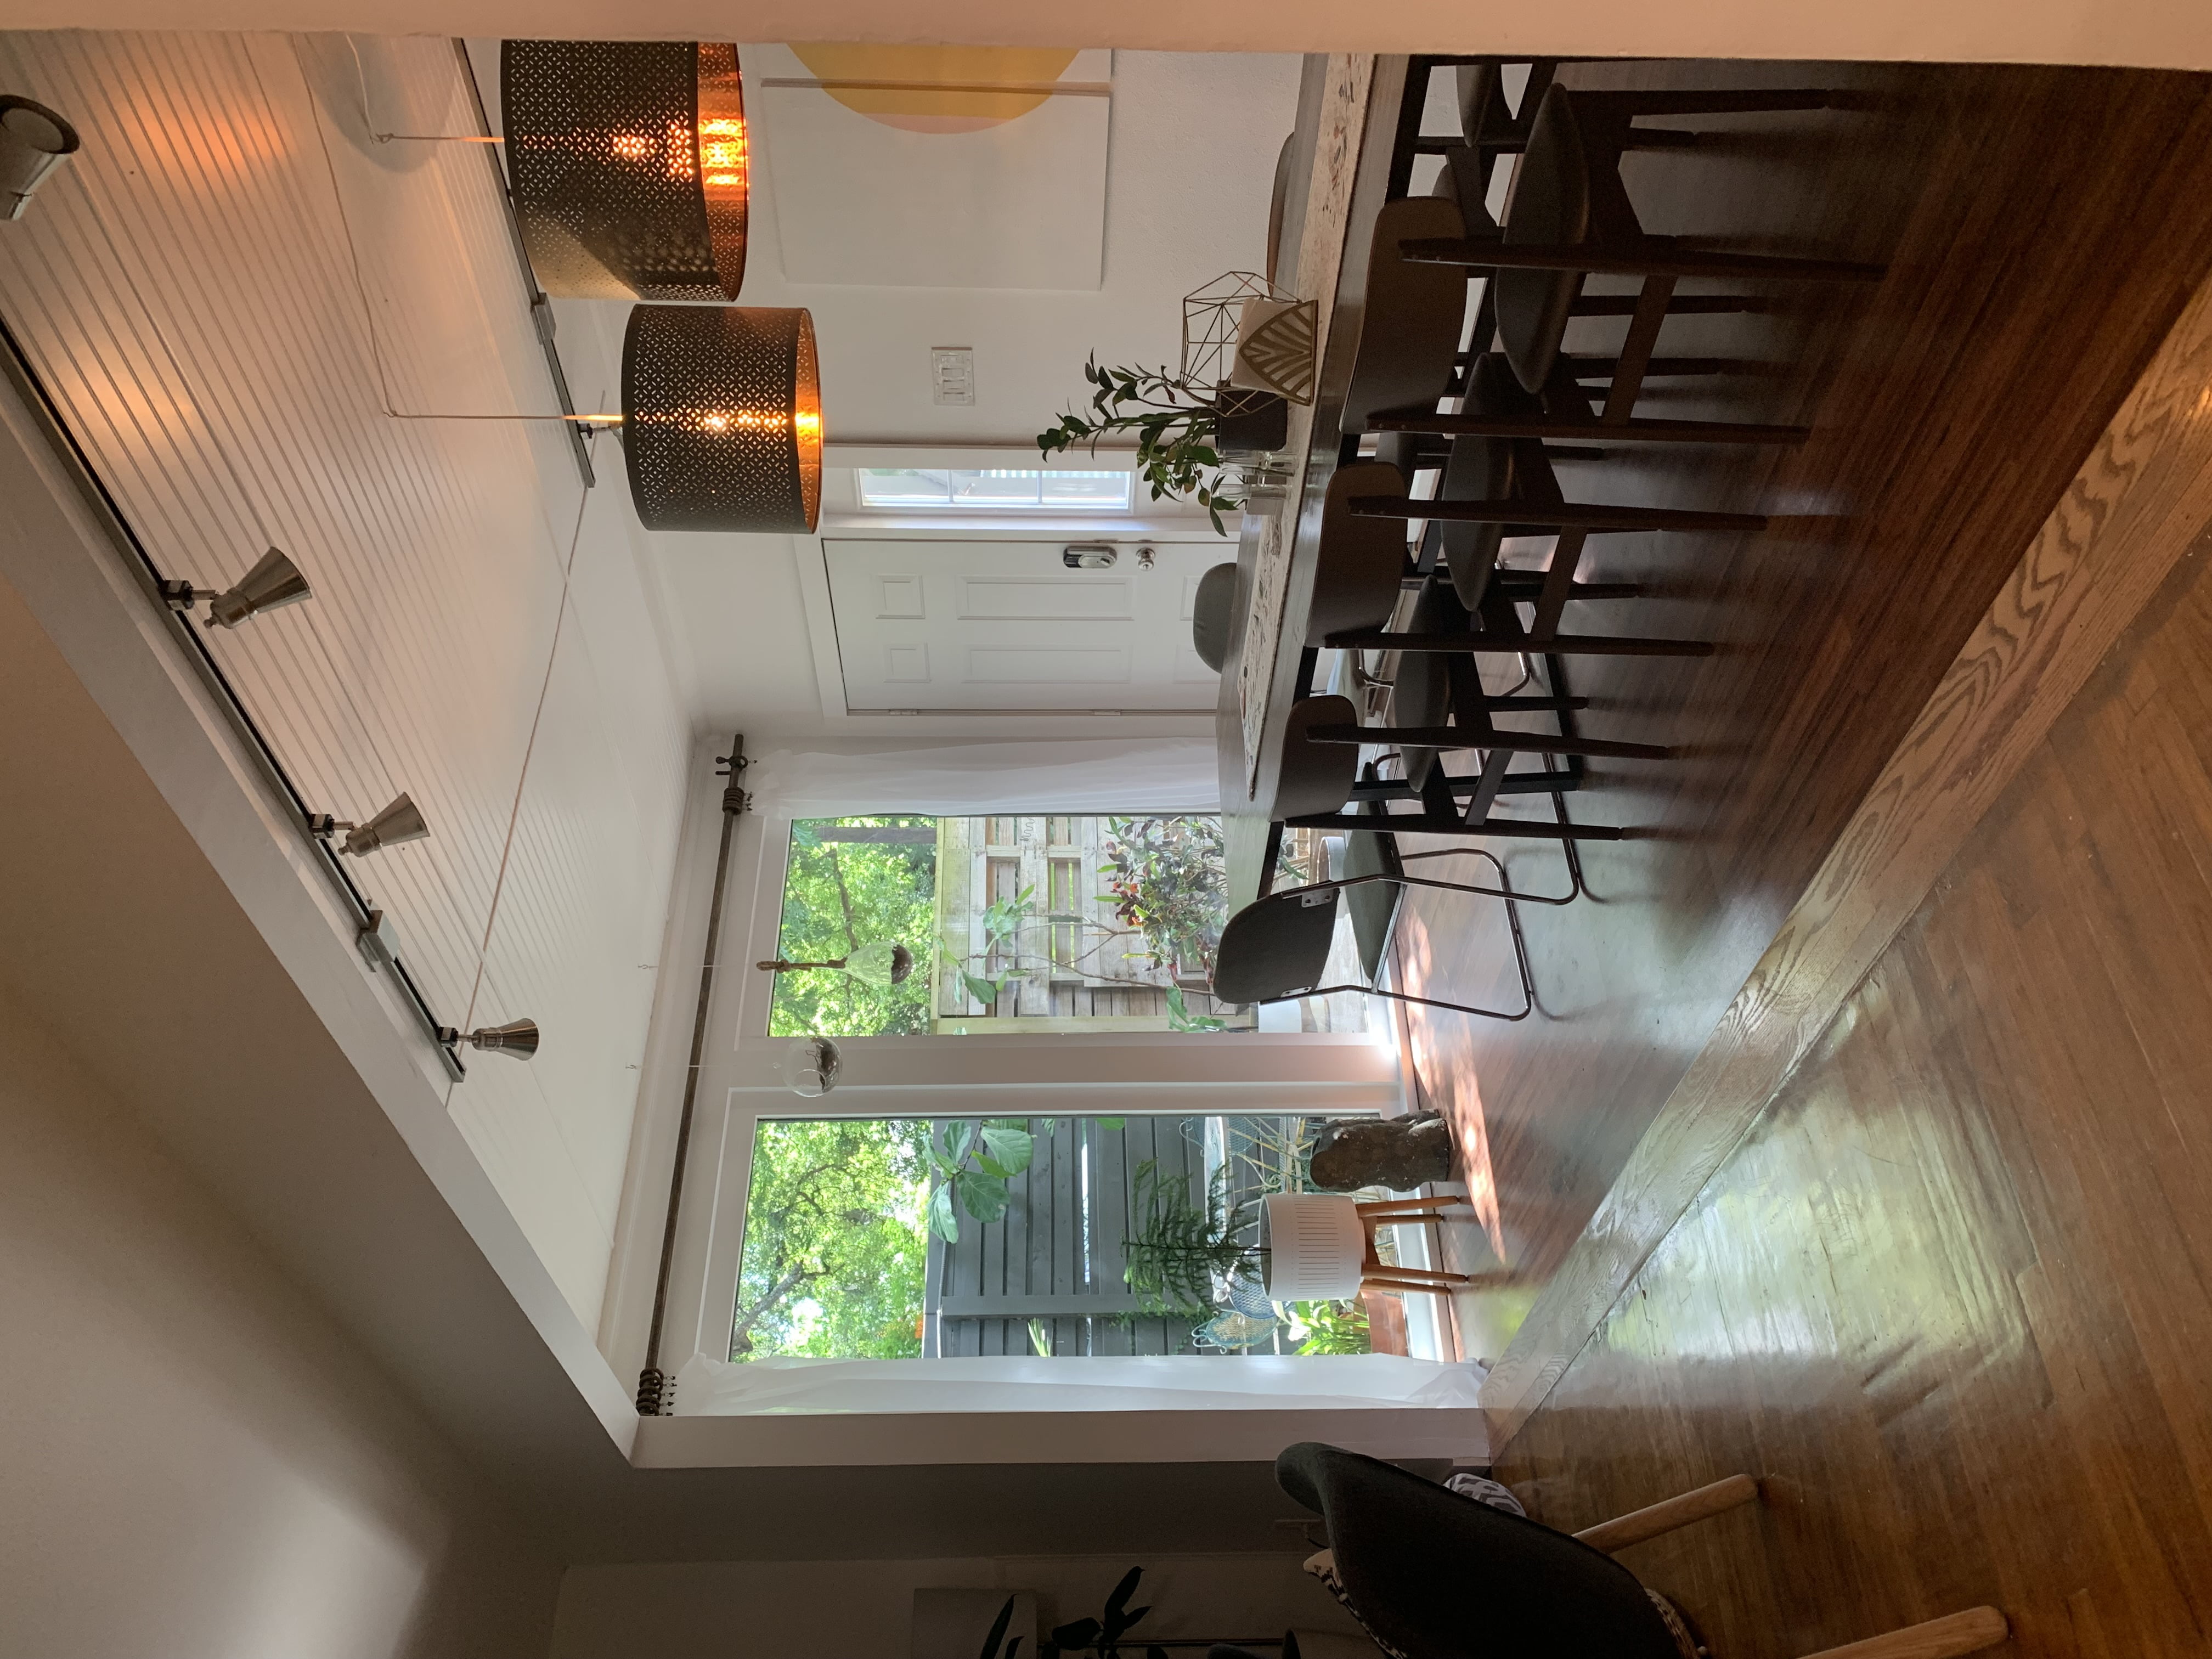
A custom curtain rod and some sheer curtains completed phase two of our dining room transformation. The amount of new light was inspiring. So much so that it was just 8 months before we did it again! But, that’s for the next blog.

